Creating a new Account
Menu > Accounts > NEW

Enter the NetSuite Account Id as it’s found in your Setup > Company Info page in NetSuite.
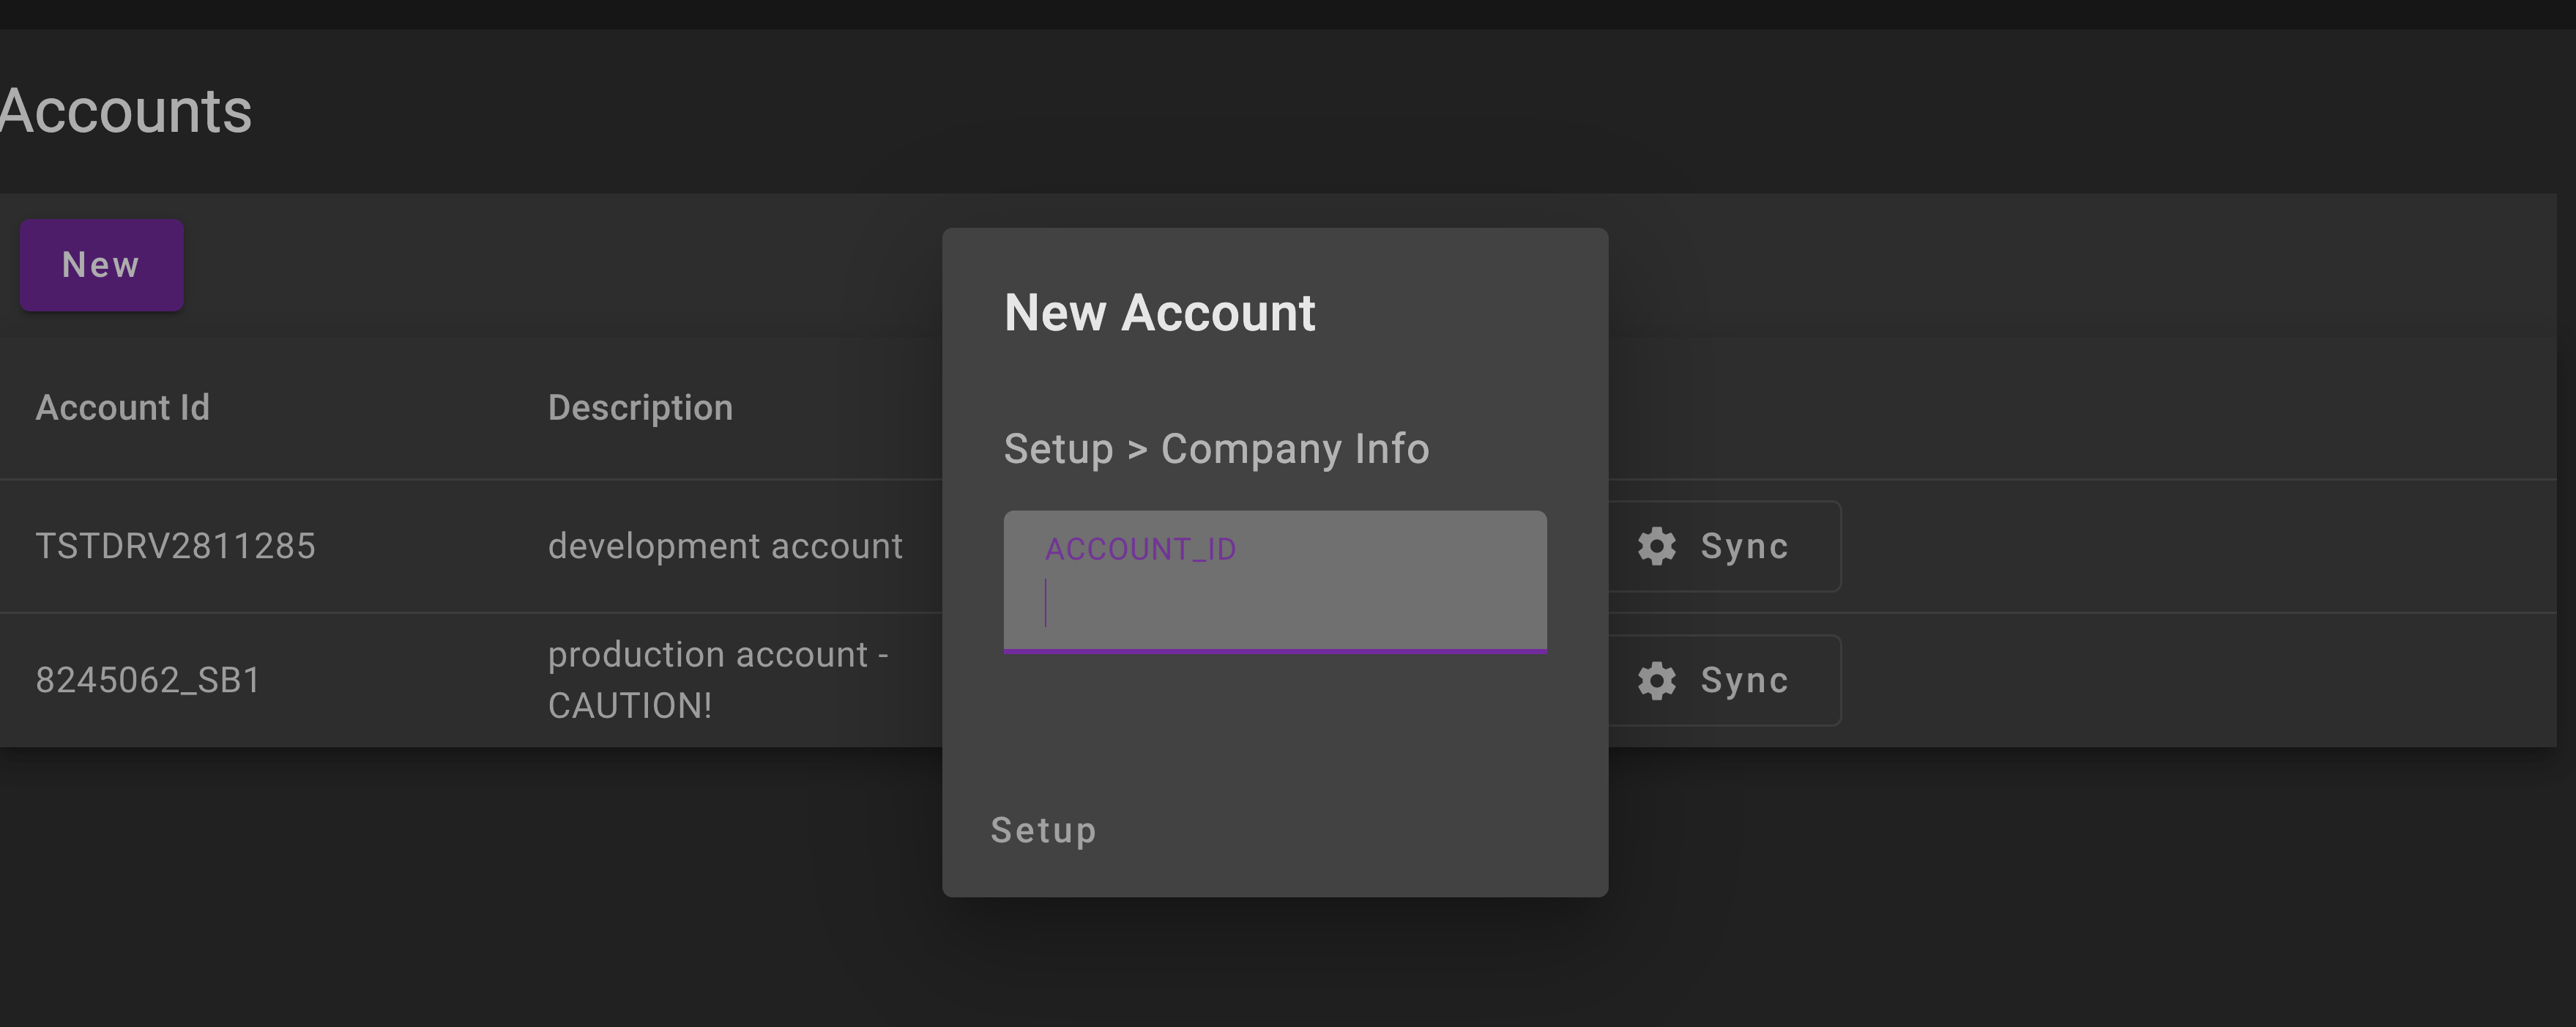
Step One - Oauth to NetSuite
Simply hit AUTHORIZE having entered your company account id in the initial dialog. You will be redirected to login to your NetSuite account, please use the minimum of a Developer role, Administrator preferred.
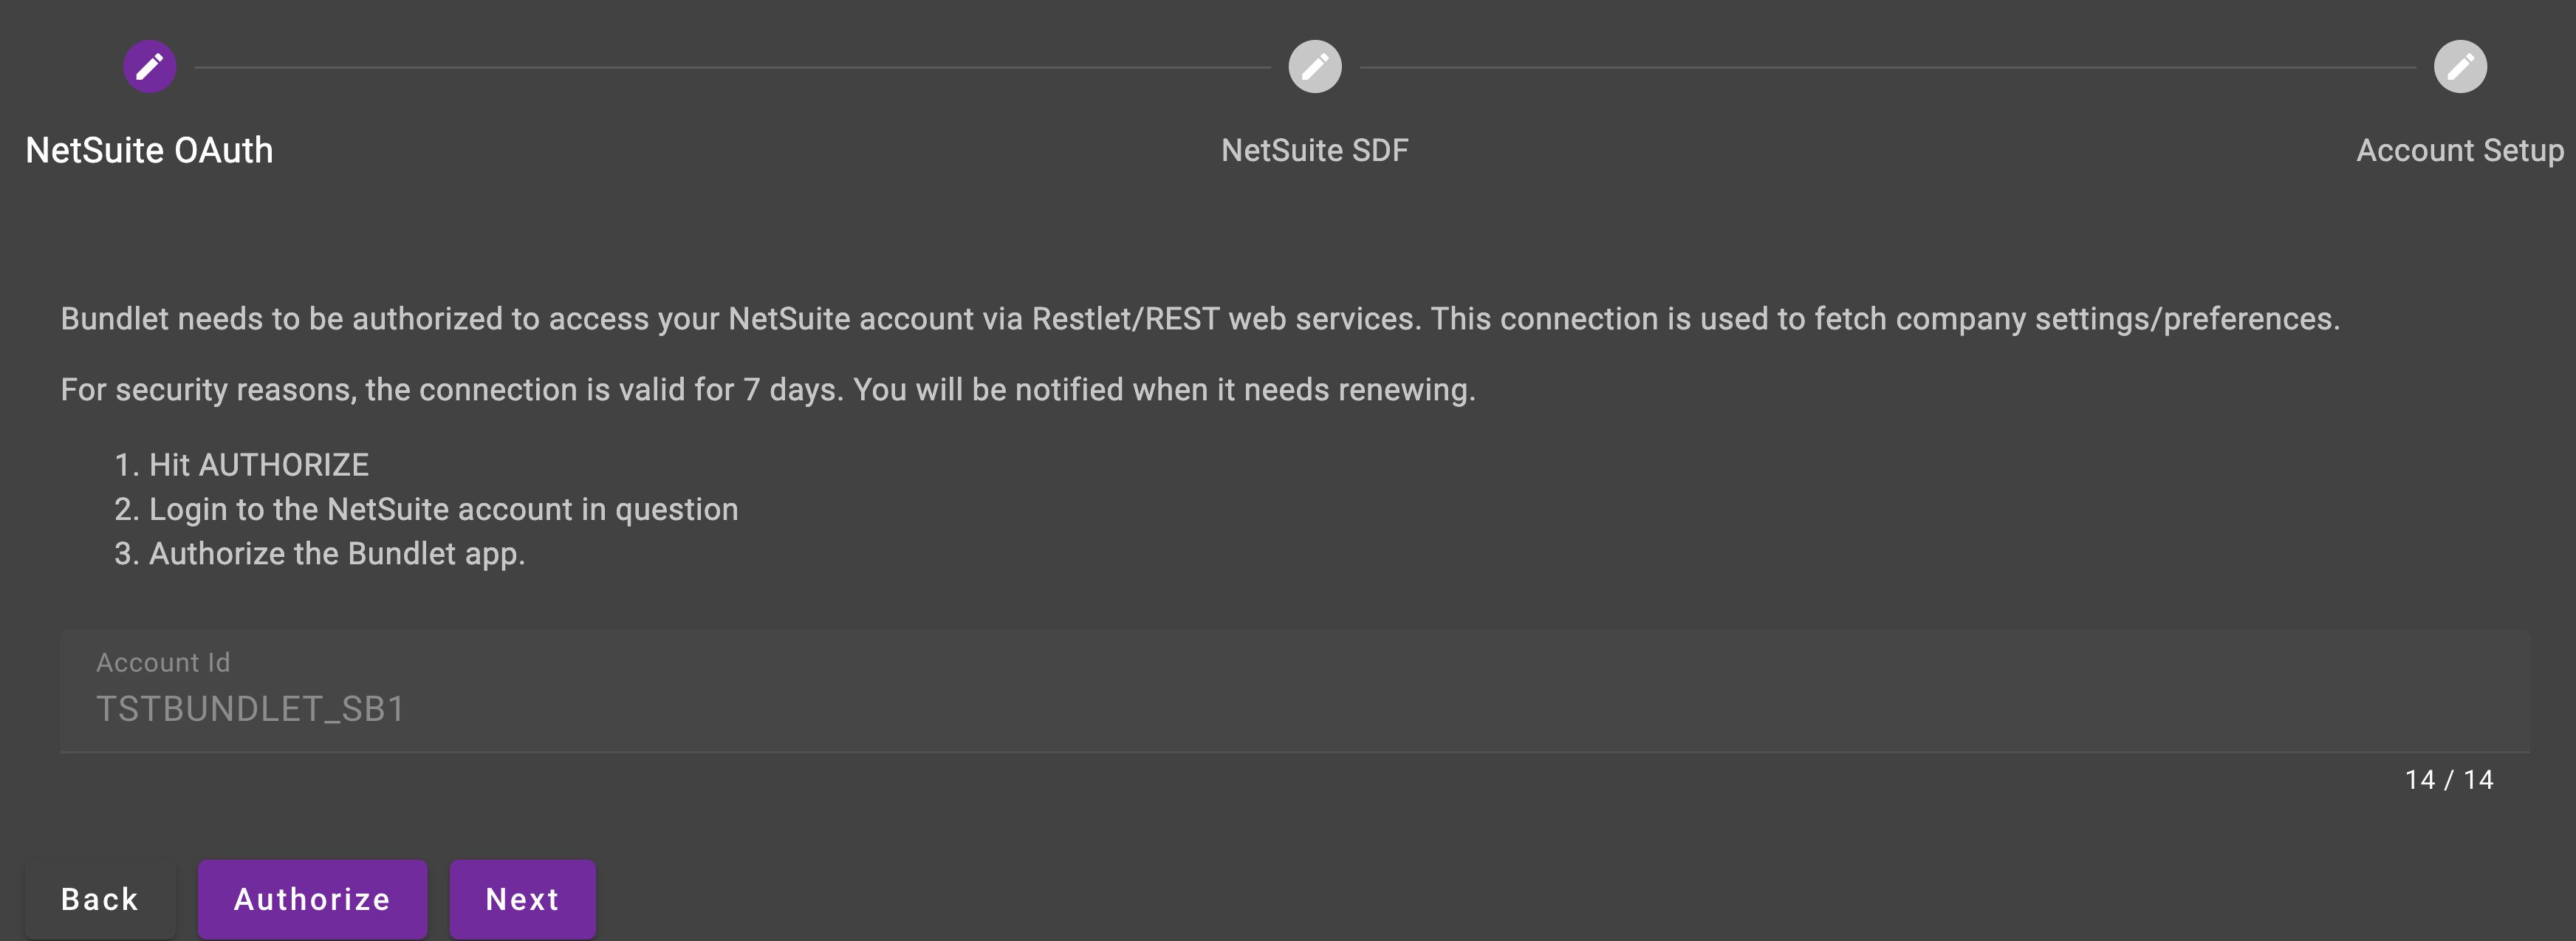
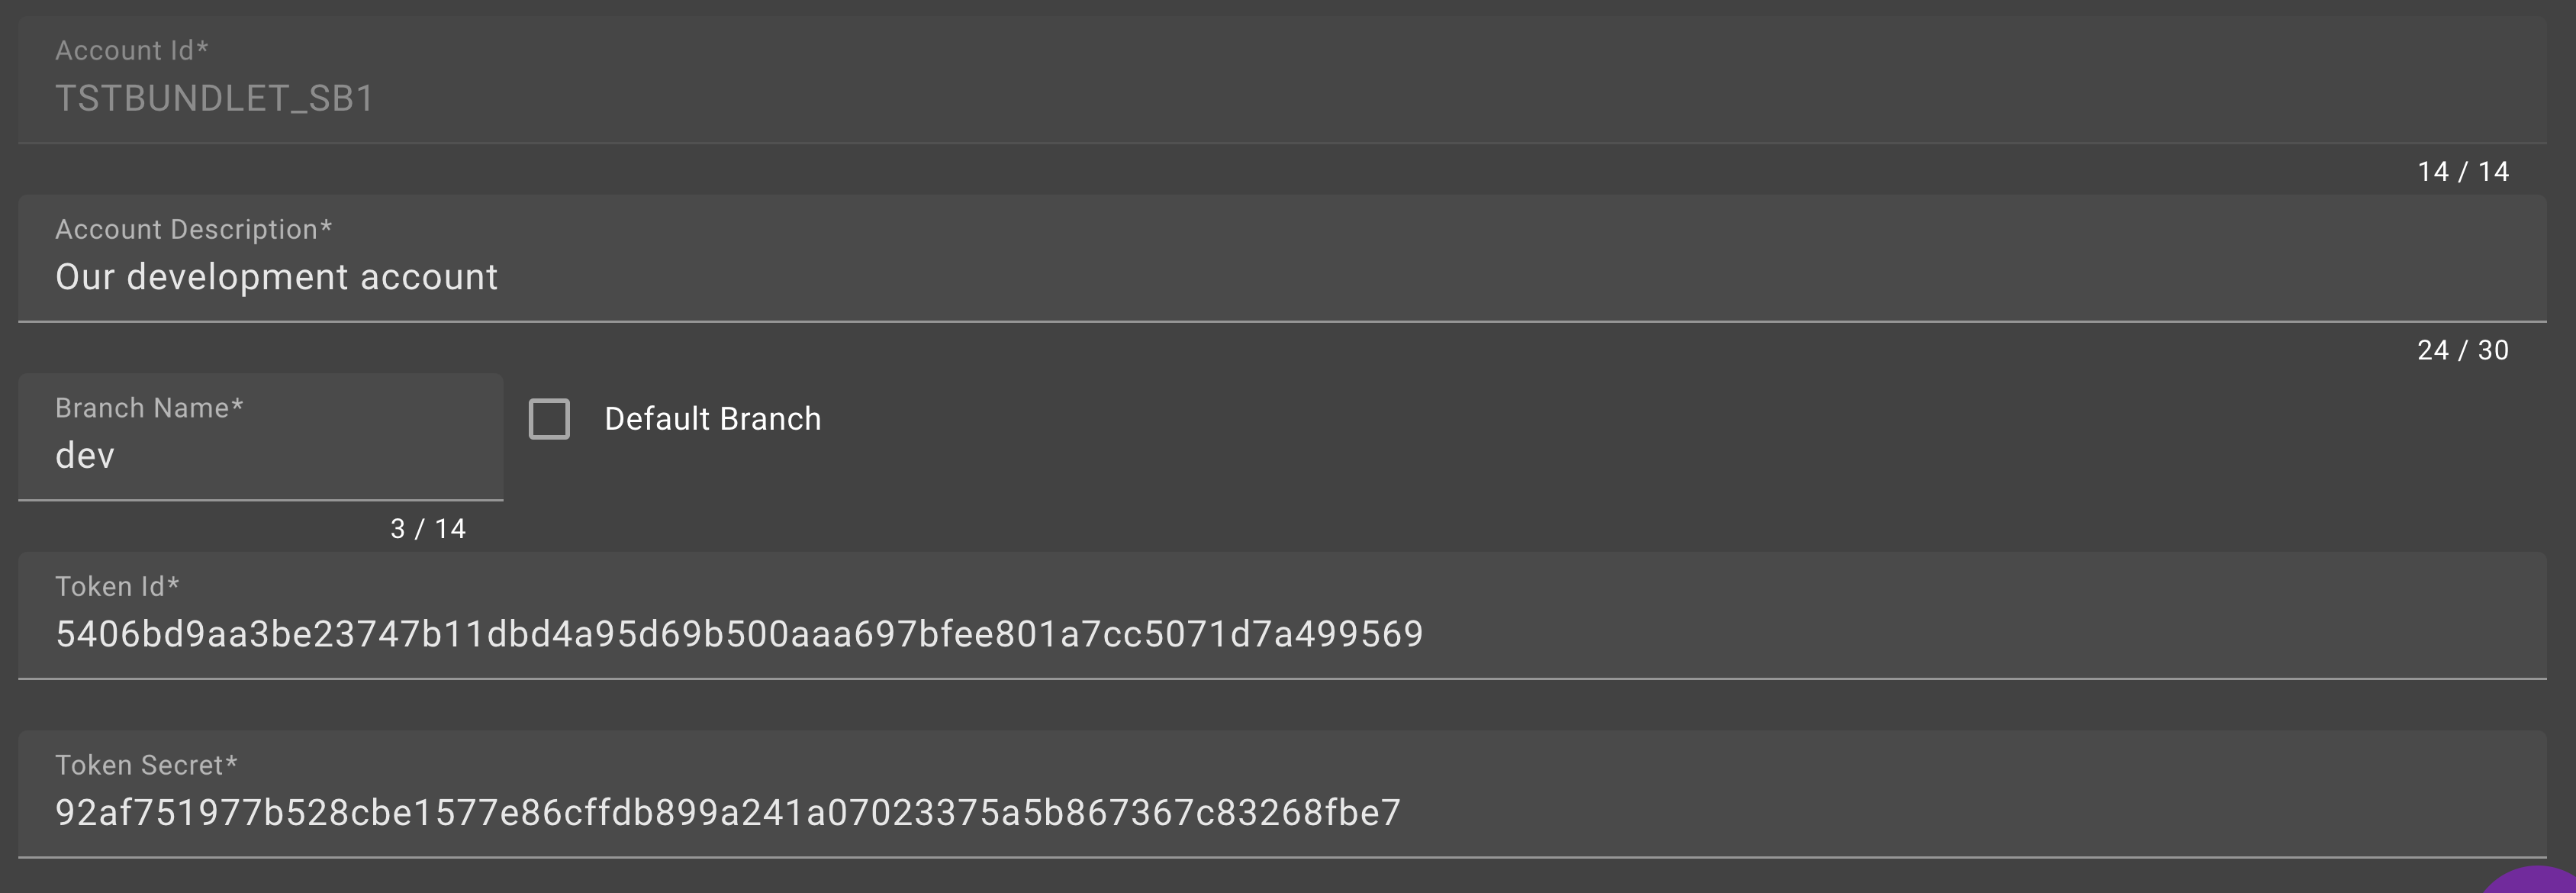
Step Two - Details & SDF Access
Account Description
This is simply a description you enter to distinguish the account inside Bundlet.
Branch Name
If using BRANCH PER ACCOUNT, enter a name for the branch that Bundlet will associate with this NetSuite account. If using REPO PER ACCOUNT, this will default to main.
Default Branch
If using BRANCH PER ACCOUNT, checking this will assign this branch as the main branch in Git. This is usually reserved for main or whichever branch you associate with your NetSuite Production account. If using REPO PER ACCOUNT, this will default to true.
NB - you can always update the default branch in Git after setup is complete
Token Id
SDF token id tied to Administrator role
Token Secret
SDF token secret tied to Administrator role
Step Three - Initiate Account Setup
Before you can start using an account inside Bundlet, you need to run the Setup Wizard.
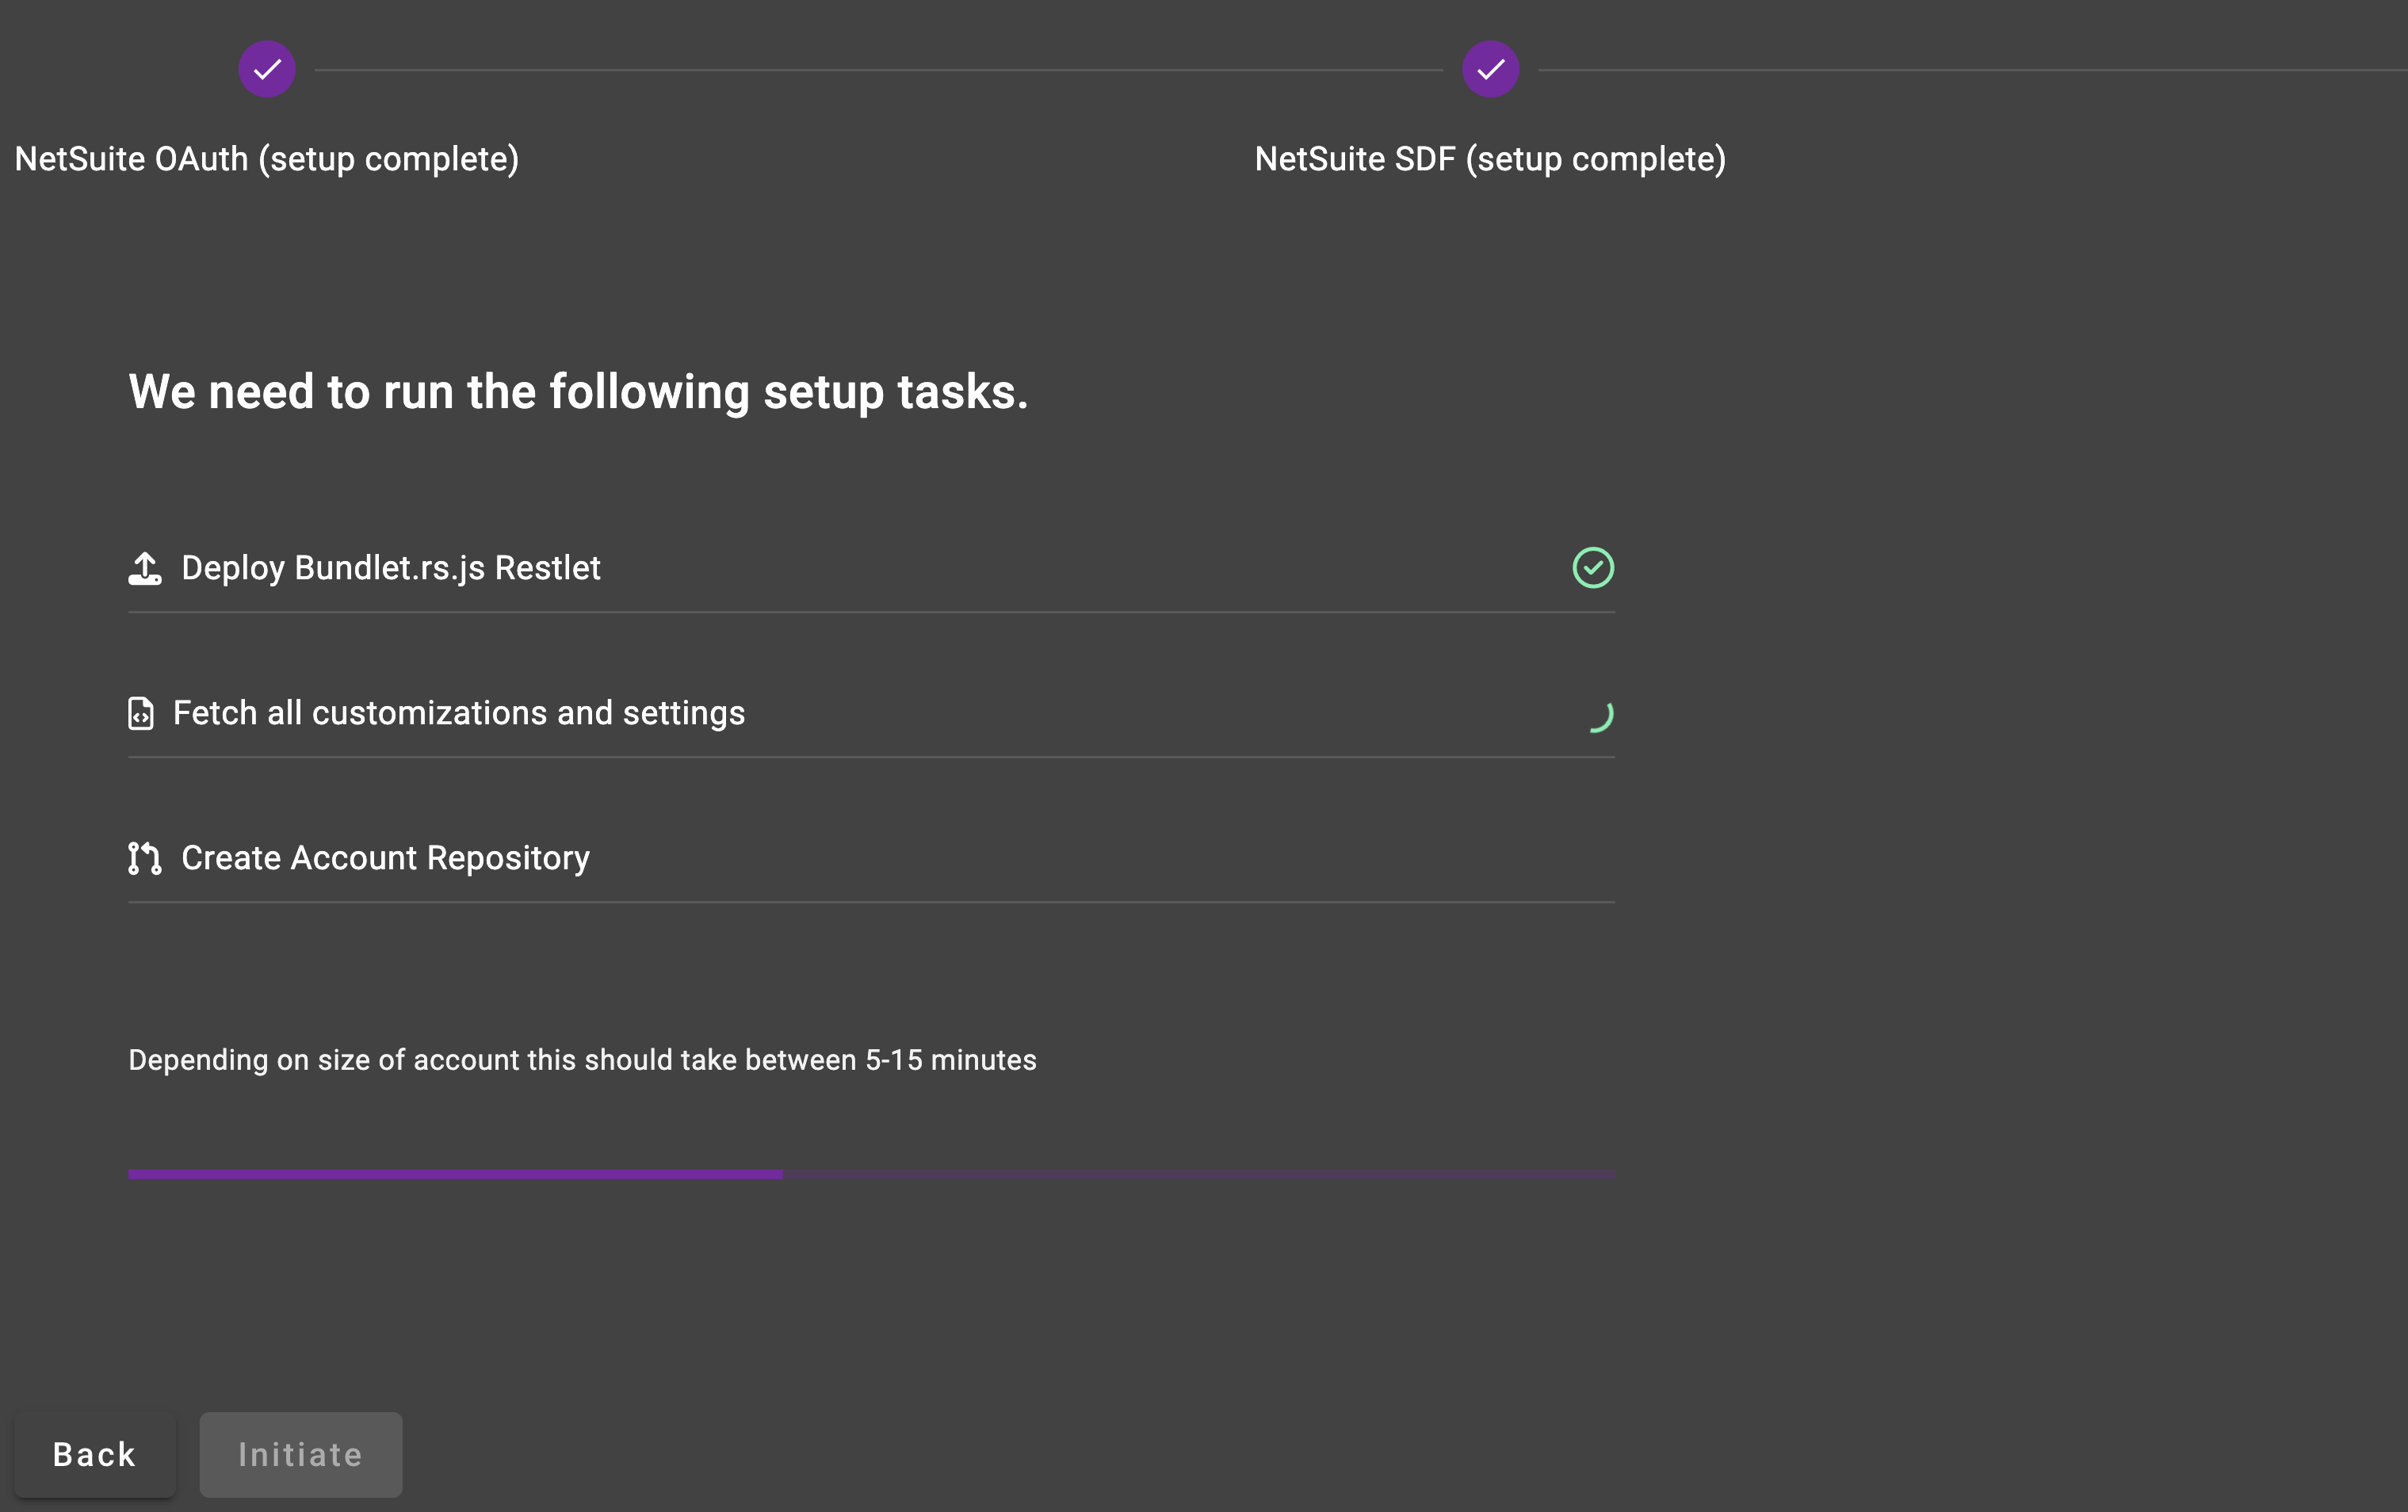
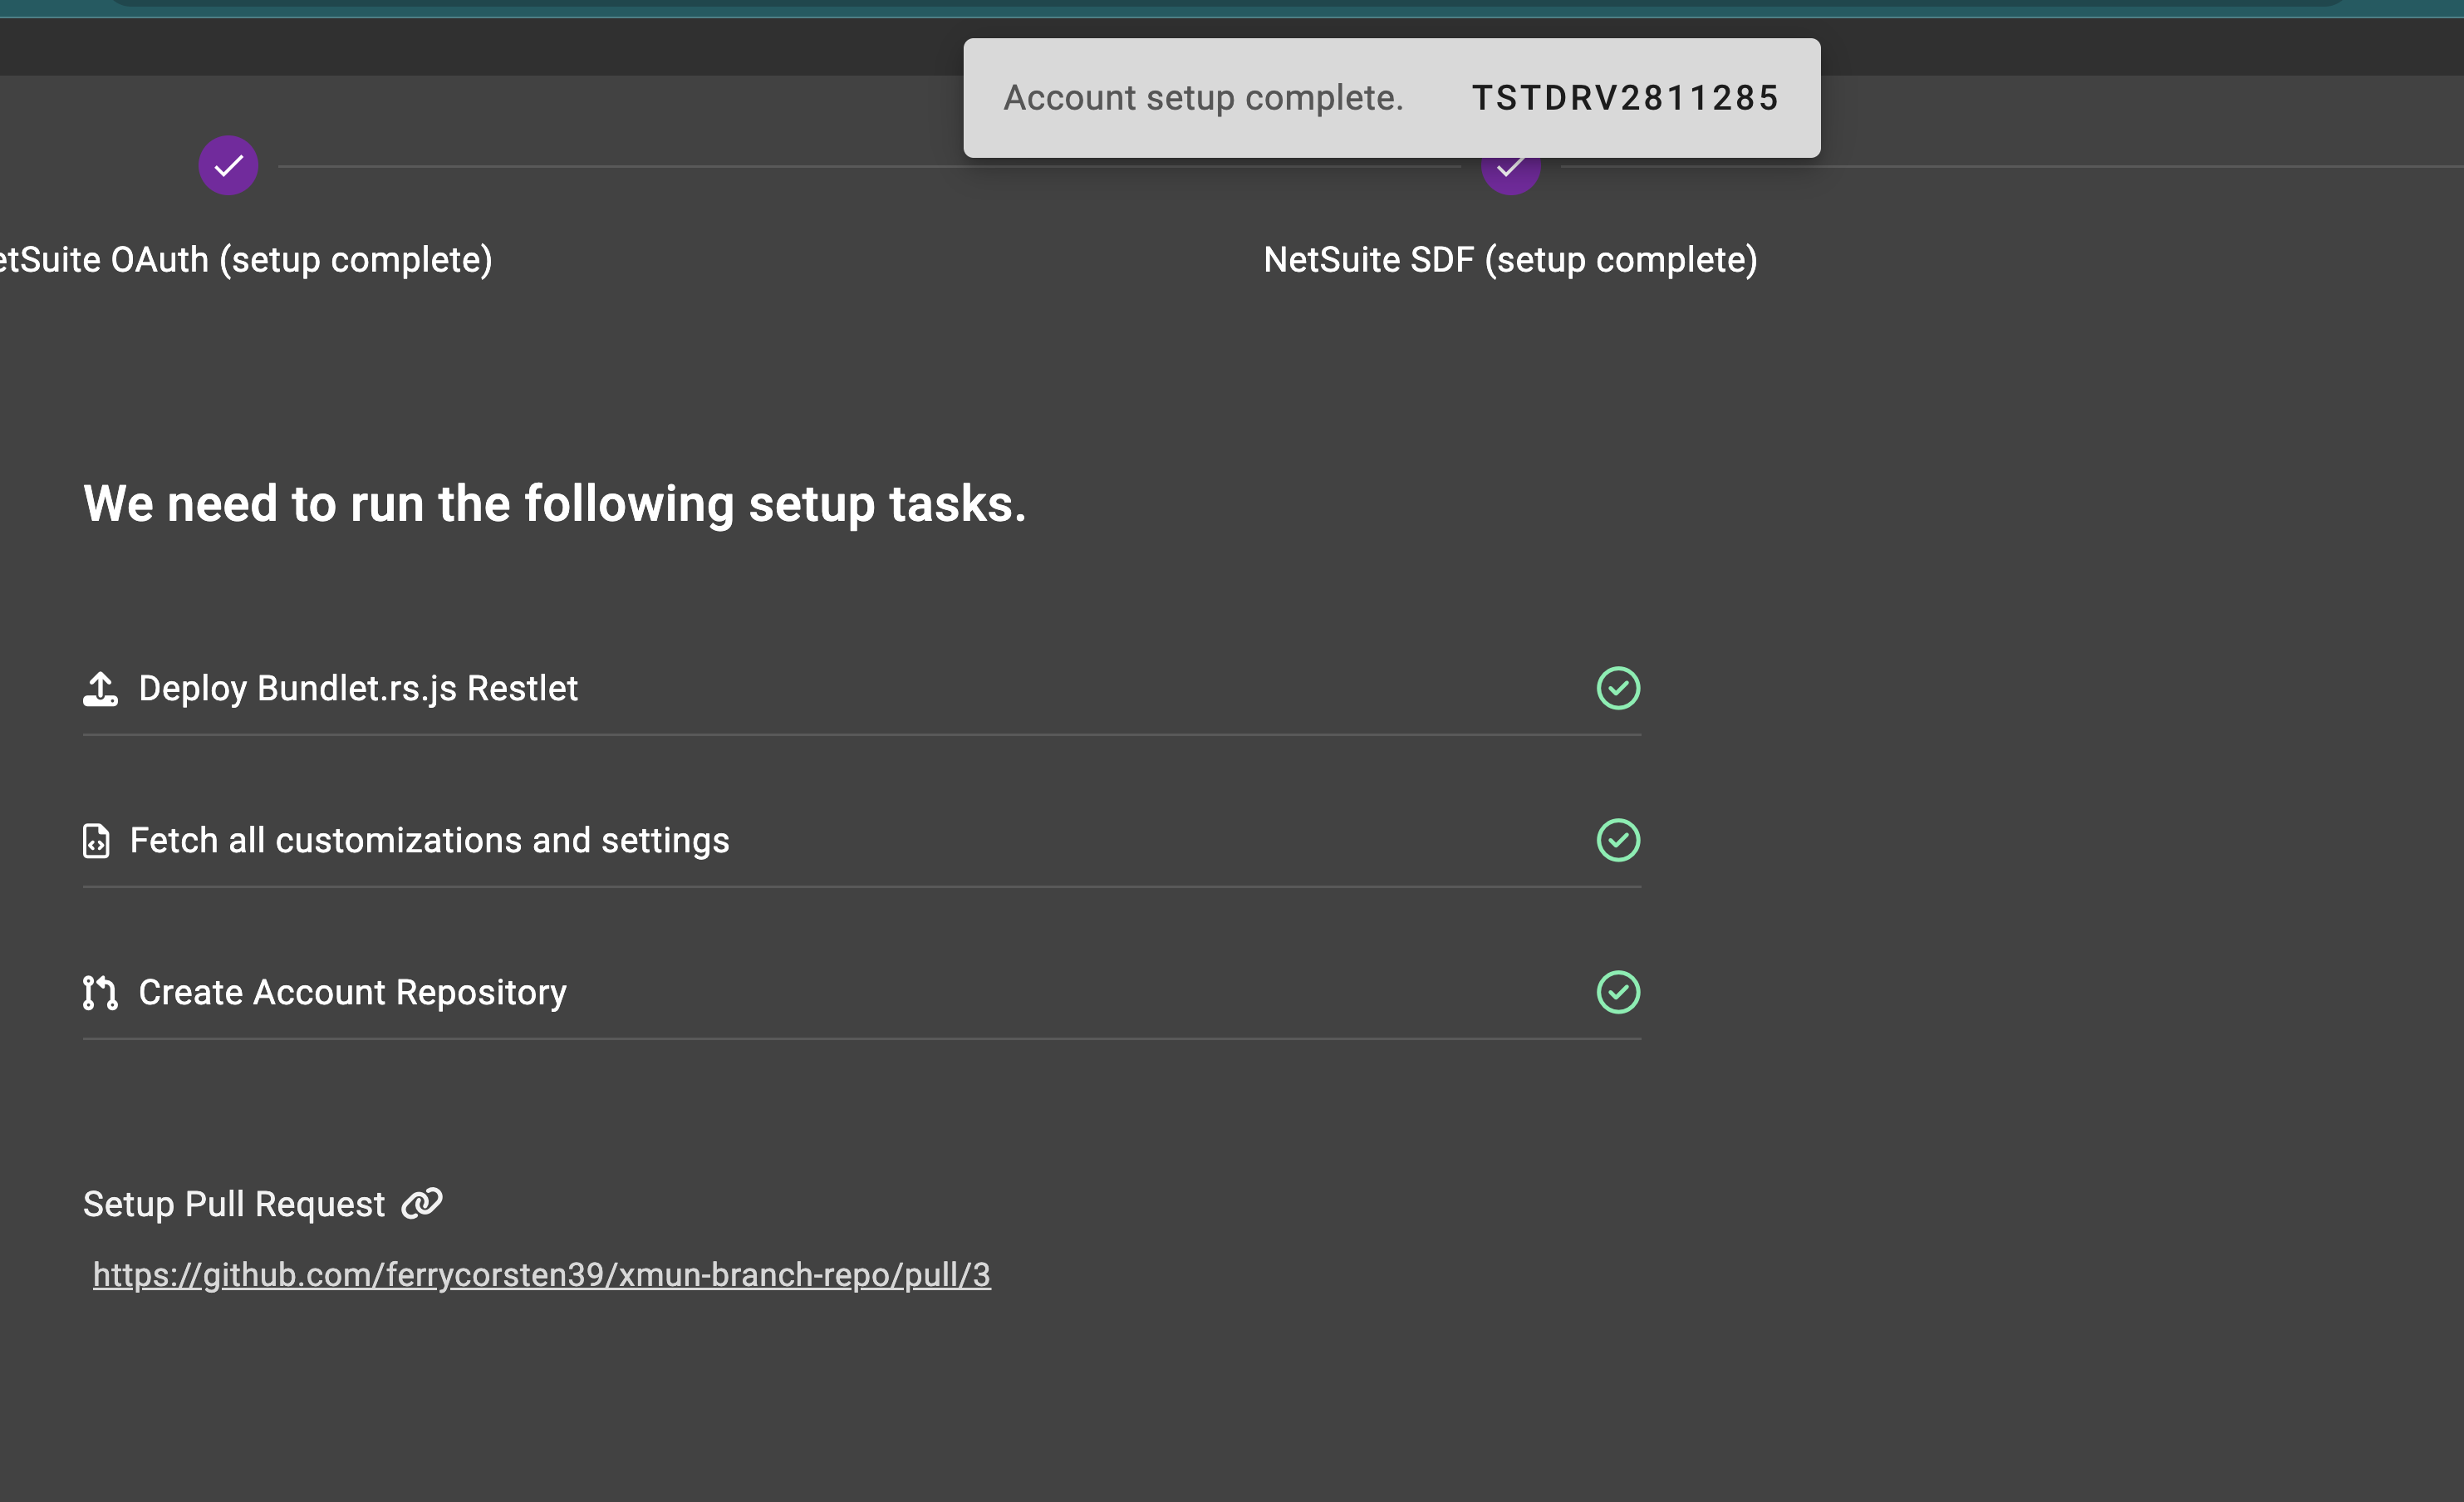
This is done by simply hitting INITIATE. The wizard will:
- Deploy a Restlet used for various Bundlet services,
- Fetch all Scripts, Objects and Settings from the account,
- Create the Git Repository according to the Repo Settings set up earlier.
Once complete, you will be presented with a link to the Pull Request that was created and merged to complete your setup.
Repeat this process for every account you would like to set up in Bundlet.
Tip:
Open the Accounts menu in a new tab, and proceed with Setting up additional accounts while your other accounts are in progress.
.png)
